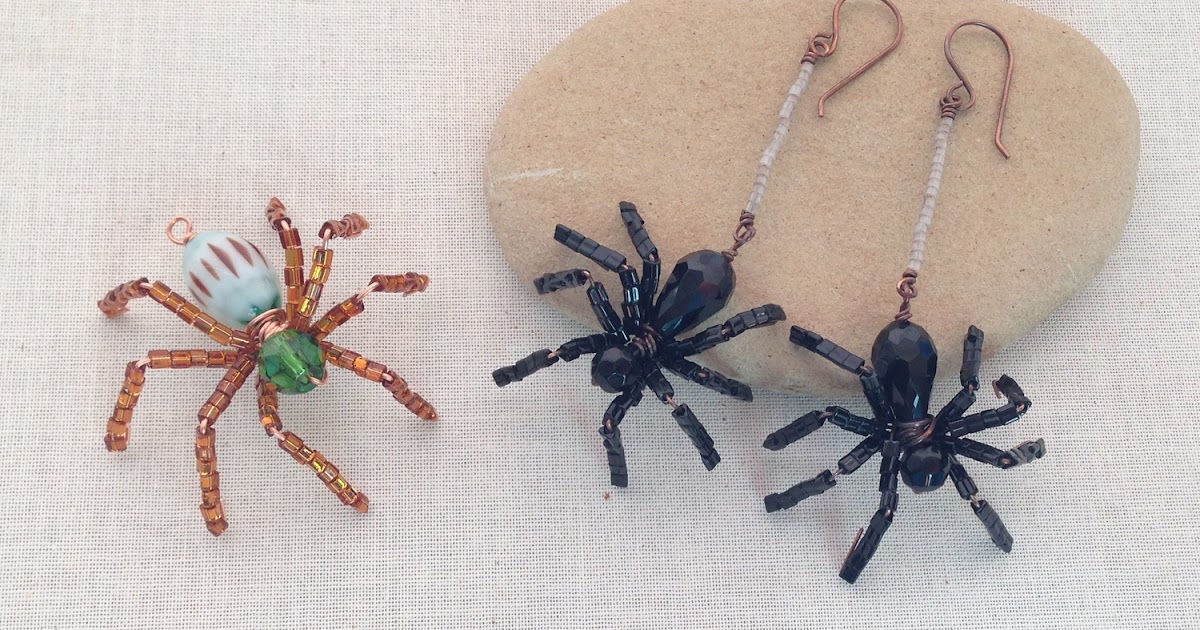
Looking to make anything creepy to dress up your Halloween outfit? Then these recommendations on how to make a beaded spider is the tutorial for you.

This venture is versatile since you can use various kinds and measurements of beads – a terrific stash buster! I’ll exhibit you how I manufactured the black spiders dangling on gray silk threads – but really feel no cost to experiment with other measurements and sorts of beads.
I applied the next supplies to make two matching spiders for earrings:
- (2) 12×8 mm black crystal fall for the rear body section
- (2) 6mm black glass faceted bead for the head
- close to (60) measurement 11 Toho triangle beads for the legs (any seed bead sized beads will function)
- 10 inches of 22 gauge copper wire for the overall body wire and for the world wide web thread
- 24 inches of 24 gauge copper wire for the spider legs (additional for lengthier legs)
- 2 earring hooks
The initial action is producing the spider legs. In circumstance you never stick around long sufficient to get a shut appear, spiders have 8 legs.


Reduce a 4 inch piece of 22 gauge wire and make a wrapped loop on one particular conclude. Trim and tuck in the tail from the loop. This loop will be used to connect the spider to other factors.
Insert the drop bead, the wrapped wires for the spider’s legs by putting the wire by the centre loop and then the spherical head bead.
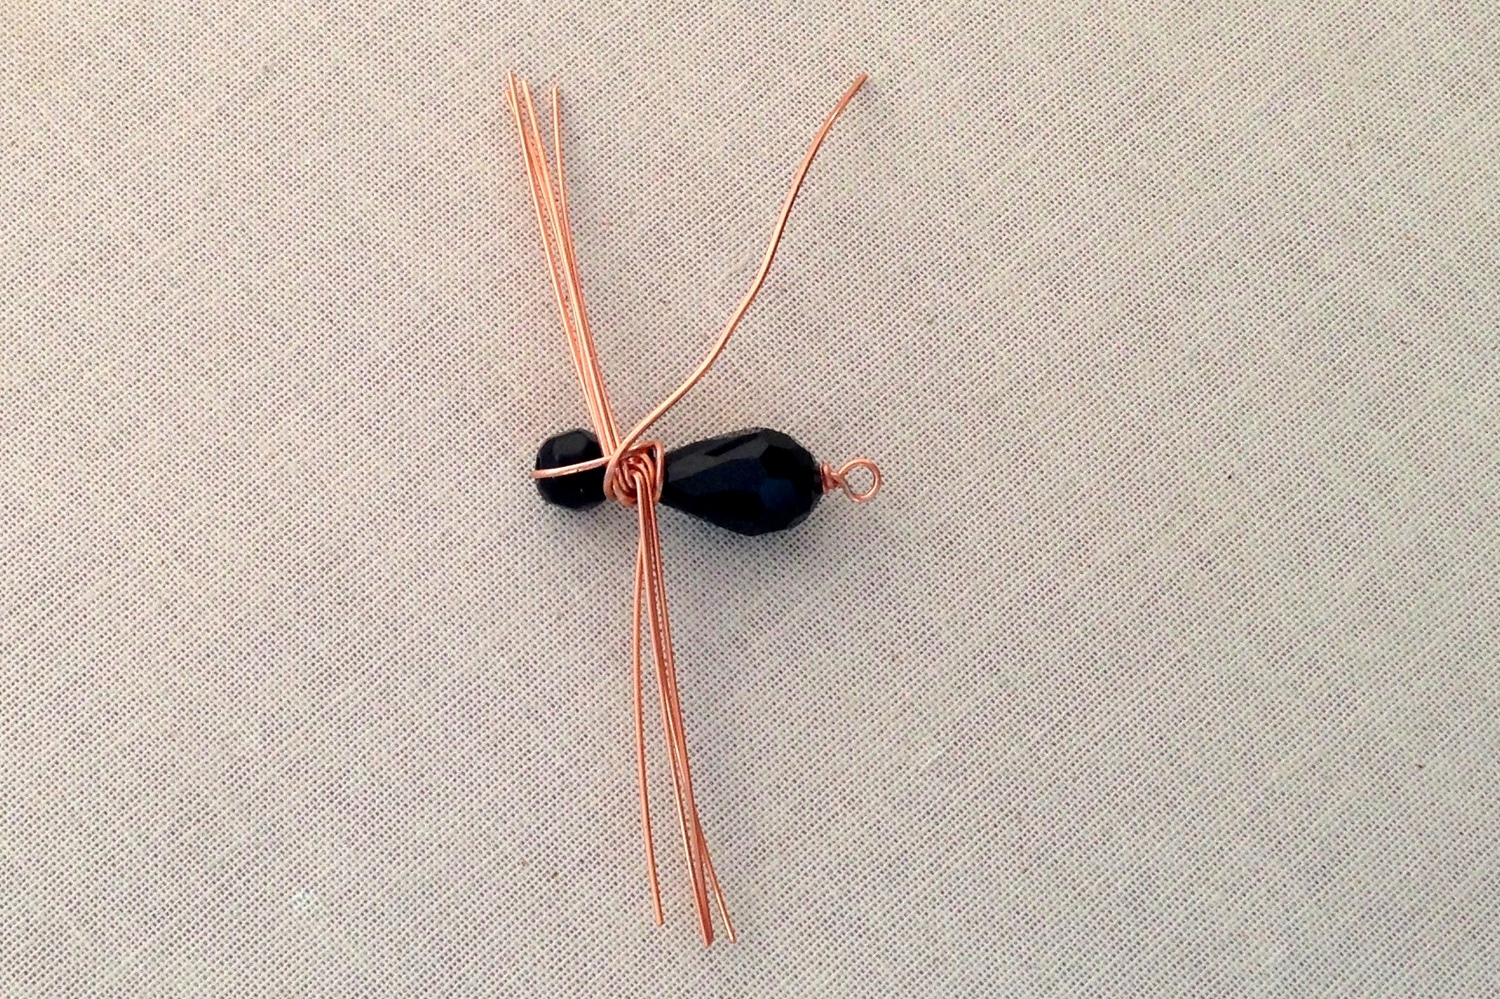
Bend the wire more than the round bead and wrap it all-around the leg ingredient to secure them in position. Make absolutely sure to push all the beads with each other and that the leg component will not spin on the middle wire. Trim the wire and tuck the stop.

Now it really is time to add the beads to the spider legs. Spread apart the wires for the legs. Every spider leg has a segment of beads, a bend in the wire and a different section of beads. Point the leg wire up from the spider human body, increase some beads (the actual selection is up to you and is dependent on regardless of whether you want a lengthy leg or limited leg spider). Push the beads towards the spider system and then bend the wire down to safe the beads in put.

Add beads for the second section of the spider leg. Continue to keep the beads in put by bending the wire conclude up future to the beads (see photograph earlier mentioned). Trim the wire.

You can insert the spiders immediately to earring wires or make a piece of world-wide-web silk for the spider to dangle from. Employing a 3 inch piece of 22 gauge wire, make a wrapped loop, and increase beads.


Repeat these methods to make a second earring.

Beaded spiders make sudden and fantastic pendants too! Delight in!
